
September 8-14, 2019 — Let’s Go To Mexico!
Cool Kids Cooking Club, Week 2 September 8-14, 2019

MEXICO WEEK!
Hola! And welcome to the second week of the Cool Kids Cooking Club — a “virtual” club where kids and their parents cook the same dishes the same week as kids all across the country!
If this is your first time hearing about the club, read this post first about how it all works: Cooking Club Introduction
If you want to join the club — please do! The more the merrier! Click here to join our club group on Facebook, where our interaction will take place (it will ask you three questions to join: if you want to join the cool kids cooking club (this is not a commitment to anything), how old your kids are, and how you heard about the club).
You can also find Week One at this link HERE

(this is the badge for the week, if you are doing badges for your kids. If you want to learn more about badges, read the introduction post )
Mexico
Mexico is one of only 2 countries that borders the United States, and because of that, we have a lot of Mexican culture in this country. Which is amazing! One of those things is Mexican Food, which is fairly commonplace in most US cities.
This week we will be making 3 recipes inspired by Mexico. I am not claiming that these recipes are necessarily AUTHENTIC — just that the flavors and ingredients are reminiscent of those hailing from Mexico.
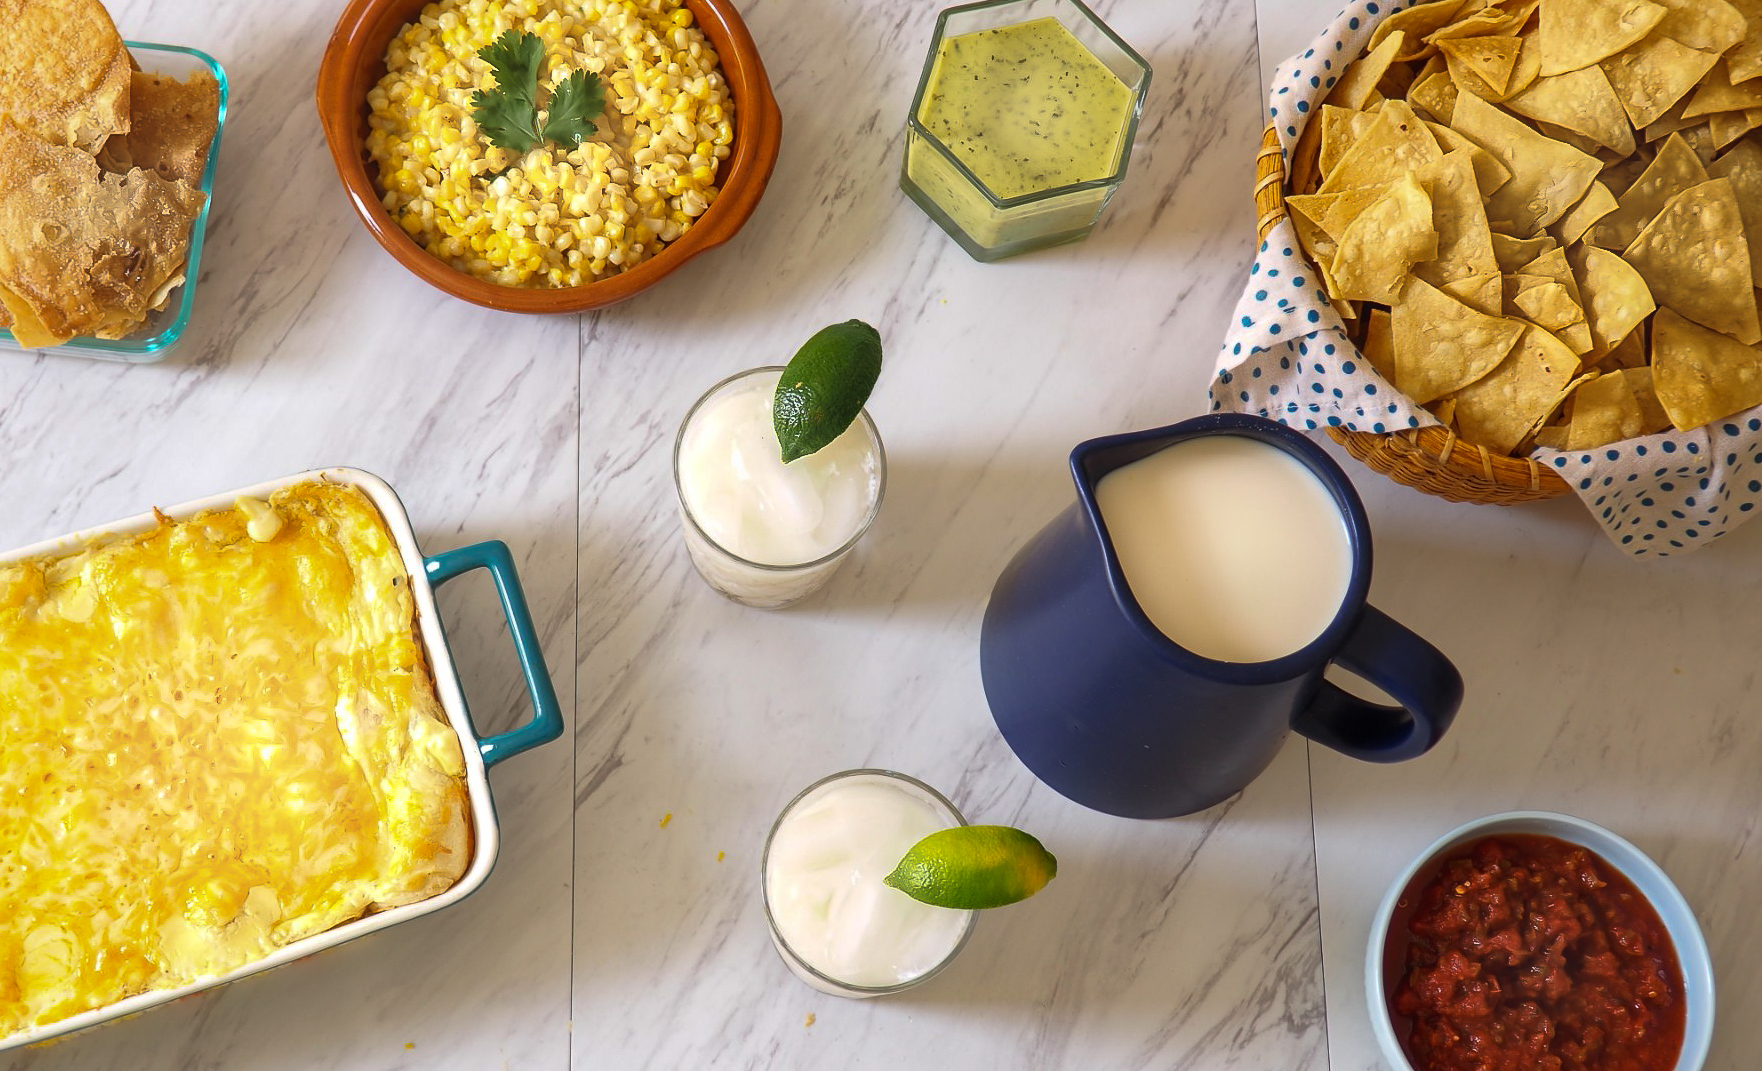
Our 3 Mexican Dishes are (my recipes are down on this post!):
- Chicken Enchiladas
- This recipe is inspired by Lil’ Luna’s Creamy Chicken Enchiladas
- Off-The-Cob Street Corn
- This recipe is inspired by Table for Two’s Mexican Street Corn Off the Cob
- Horchata Beverage
- This recipe is inspired by Muy Delish’s Traditional Mexican Horchata
You can make all three for one meal, or spread them out throughout the week — whatever works for you and your family! Just try to make all three within the week of September 8-14, 2019 (and please post about them in our Facebook group!)
2 Tips:
Tip 1:
When cooking with kids in the kitchen, this is my mantra:
“It is better to have short, positive experiences in the kitchen, than long negative ones”
What I mean by that is — only have your kids assisting with the dishes as they are willingly doing so. If you force them to help cook, they will carry those negative experiences with them a long time, and we don’t want that!
I have my kids help with the portions of the meal they are excited and willing to help with, and then let them off the hook when they get bored or disinterested.
Tip 2:
Create steps in the process that allow kids to help.
Here are some examples from this week’s recipes:
To make the Off-The-Cob corn, you can 100% use canned or frozen corn in the recipe. It is so easy to do so! BUT, my kids LOVE to shuck corn, especially my 2 year old who doesn’t usually get to do much of the helping. So, we used fresh corn JUST so the kids could shuck it and feel that they were contributing to the dish.
Also, the corn allows for fresh or dried cilantro. I chose dried so the kids could sprinkle it on from the bottle, which is much easier than chopping and sprinkling the fresh kind.
These were just some of the many adjustments I made to let my kids be more involved in the kitchen. What are some ways you let your kids help? Let us know in the Facebook group!
And that’s that! If you have any questions, feel free to message me here in the comments or on Facebook and I’ll get back to you right away.
If you are newly joining us and want to purchase badges, I take orders on a monthly basis. So please wait until the end of September when I make the October order, and let me know if you want the September badges as well. Badges are $3 each per week per child and I order them 1 month at a time ($12 per child per month). I buy the badges online in bulk and am selling them at cost. I will personally mail them to your home!
Badges are totally optional and not necessary to participate in the club — but I’ll tell ya — my kids are TOTALLY motivated to help cook and eat the food when they know they are receiving a badge! It’s the best!

| Servings |
Enchiladas
|
- 12 Fajita Size Flour Tortillas
- 1/2 Fully Cooked Rotisserie Chicken
- 2 Cans Cream of Chicken Soup
- 1 Can Diced Green Chilis
- 1 Pint Sour Cream
- 4 Ounces Cream Cheese
- 4 Cups Mexican Shredded Cheese
Ingredients
|
|
- Preheat your oven to 350F.
- Mix the cream of chicken, chilies, sour cream, and cream cheese in a bowl. Separate 1/3 of the mixture and set aside in another bowl.
- Shred half the chicken from a fully cooked rotisserie chicken and add to the larger amount of the above mix. Add 2 cups of cheese and stir well.
- Spray non-stick spray in a 9x13 pan and scoop half of the reserved (non-chicken) mix into the bottom and spread.
- Working with one tortilla at a time, scoop several spoonfuls of chicken mix into the center, smooth in a straight line, and roll up. Continue until you fill up your pan and the chicken mix is gone.
- Spread the remaining non-chicken mix onto the tops of the tortilla rolls, covering all of the tortillas. Sprinkle the remaining cheese over the top to taste.
- Cover with foil and bake in the oven for 45 minutes. Remove the foil and bake for 5 more minutes.

| Servings |
Servings
|
- 4 Ears Corn
- 1 Tablespoon Butter
- 2 Tablespoons Mayonaise
- 3 Ounces Fine Shredded Monterrey Jack Cheese
- 1/2 Teaspoon Paprika
- 1 Stalk Green Onion
- 1 Tablespoon Fresh or Dried Cilantro
- Salt and Pepper
Ingredients
|
|
- Shuck all the corn. A corn shucking hack is to cut the bottom of the corn off before you peel it -- it makes it so much easier!
- Once the corn is shucked and clean, cut all the kernels off. A hack for this is to place the tip of the corn in a Bundt pan and cut. This gives a nice platform and all the corn stays in the pan!
- Melt the butter in a large skillet on the stovetop. Add the corn. Stir occasionally for 10-15 minutes or until most of the moisture has evaporated and the kernels are browning.
- Transfer corn to a large bowl and add the remaining ingredients to taste.

| Servings |
Cups
|
- 1 Cup White Rice
- 2 Sticks Cinnamon
- 8 Cups Water, divided
- 1 12oz Can Sweetened Condensed Milk
- 1 14oz Can Evaporated Milk
- 1/2 Cup Sugar
- 1/2 Teaspoon Vanilla
Ingredients
|
|
- The night before you want to serve the Horchata, soak the white rice and cinnamon sticks in 4 cups of water in the fridge. Be sure to rinse the rice thoroughly in fresh water before soaking!
- The next day, pour your water/cinnamon/rice into a blender. Blend for about 4 minutes until the rice and cinnamon sticks are very small pieces.
- Use a VERY fine strainer, or cheese cloth, to pour from the blender into a large pitcher. You want to remove as much of the rice/cinnamon stick grit as you can.
- Next, add the remaining ingredients. You can add more/less sugar at this point to your taste. Serve over ice and with a lime wedge!
You must be logged in to post a comment.